


Learn the Basics of Figma's NEW Prototyping Variables (Config 2023)
Using variances to create dynamic prototypes!

The Config 2023 releases shook the design world with their groundbreaking devmode and prototyping features. If you haven't caught up yet, don't worry! I’ve got you covered with a step-by-step article highlighting one of the most exciting additions: using variances in an add to cart example.
Get ready to dive into the world of dynamic prototyping as I show you how to harness variances for a more robust design.
Part 1: Creating the number increase property
Click out of frame.
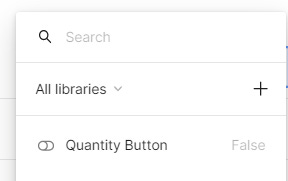
Click local variables
The panel to configure variables will pop-up and rename the default collection 1 to a relevant name.
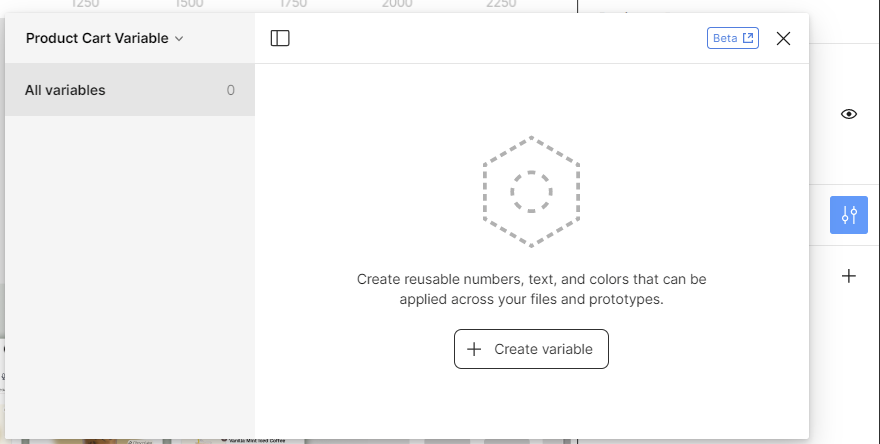
Click create variable —> # number —> 0
Once closed, click into each number that would be affected by the numerical change and click apply variable. In thins case, I’ll be applying this change to both cart and quantity of individual product selected.


Part 2: Creating the +/- interaction.
Click into the ‘+’ button and go to the prototype panel.
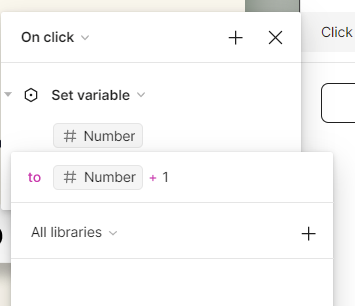
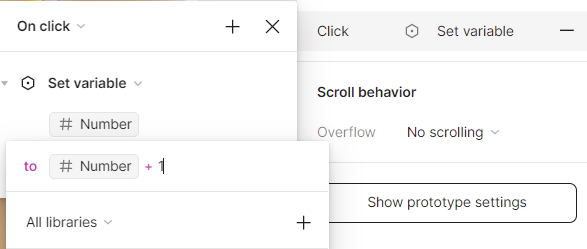
Create an interaction where on click, set variable

We will create a number + 1 variable by clicking the #number variable —> and the #number —> addition —> 1
Complete the same process for the ‘-’ button.


Great! You’re 1 step closer to perfecting your prototype! However, you notice that you could subtract indefinitely… meaning that the ‘-’ button could decrease into the negatives.
To have the ‘-’ button stop at 0, we must add a conditional logic.
Conditional logic means only if a specified action occurs, then this next action may follow.
Click into the ‘-’ button and click into the current prototype interaction.
Add new action with the ‘+’; a conditional logic.
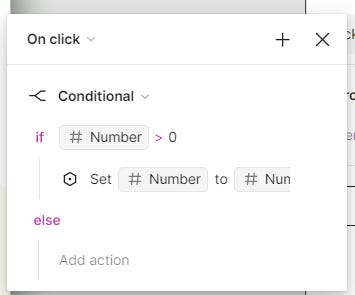
Here, we would like to place a condition upon the button, that if the associated number is greater than 0, then the variable may be applied.
Click into the if text field and complete the sequence: #number —> greater than —> 0

Collapse the variable section and drag it underneath the recently created conditional logic field.


Bonus: If you’d like to hide the quantity button until the add to cart button is pressed, we must consider the interaction for this property.

Part 3: Boolean interaction property
Click out of frame.
Click local variables
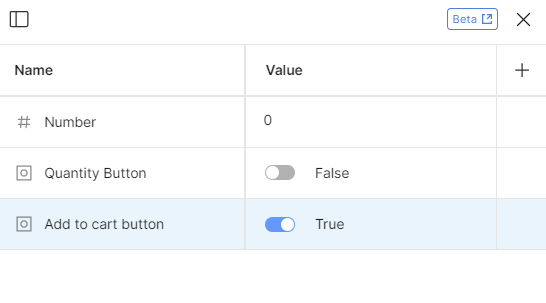
Add a Boolean variable and name quantity button

Once exited, ensure that the add to cart button and quantity buttons in an auto layout
Click onto the layer —> right-click the eye icon in layer —> click the quantity button variable

Click add to cart button —> create a new number variable interaction —> #number —> addition —> 1
Create another conditional action by clicking ‘+’ which will indicate that if our quantity button is greater than 0, the button set will be visible.
If #number —> greater than —> 0
Add action —> Set Variable —> quantity button —> choose the true boolean.


To hide the quantity button set once there are ‘0’ items in the cart, must create another Boolean property.
Part 4: Use Boolean and conditional variables to hide the quantity button set.
Click out of frame.
Click local variables
Add a Boolean variable and name Add to Cart button, and toggle true.

Connect the add to cart button with this Boolean variable by right-clicking the eye icon in layer —> click the add to cart button variable.
Now, while the ‘-’ button is visible, click the ‘-’ button —> create an new conditional variable under the existing interaction.
If #number —> equal to —> 0
Add action —> set variable —> add cart to button —> true.
Under the conditional variable, add another embedded action, where while the add to cart button is true (ie. visible), the quantity button will be set to false (i.e. hidden)

There you have it! By harnessing the power of variables, you can bring your prototypes to life with dynamic properties and intuitive interactions. Although these techniques have a slightly larger learning curve, its important to embrace them to elevate and polish your designs. So go ahead, have fun prototyping, and create remarkable user experiences!